How do I set up the WooCommerce web shop connection?
1. API access setting
To be able to use the shop API, the API must be activated for the entire shop as well as for specific users that wish to access the system. The WordPress permalink setting must therefore also be changed.
1.1. Change the permalink setting
To change the permalink setting, go into the WordPress Settings -> Permalinks and select a different setting as the standard setting.
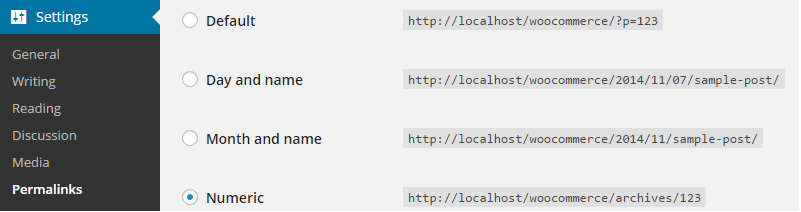
Confirm the changes.
1.2 Activate the Shop API
To activate the shop API go to the WooCommerce settings page and activate the API access by checking the box labelled ‘Enable the REST API’.

1.3 Activate API access for specific users
You require permission to access the API if you wish to allow certain users to have access to the API Connector. To create access for the users, go to the WordPress users page and add specific users. Select ‘Generate API key’ at the bottom of the page and update the user.
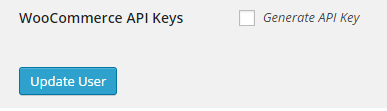
After you have updated the user, go to the bottom of the page and allocate the permission to the user. Copy the consumer key and the consumer secret.

2. Setting up the connection from Newsletter2Go
To set up the WooCommerce integration log in to your Newsletter2Go account and go to ‘Settings’ -> ‘Plugins’ and click on ‘Set up a new connection‘.
Then select WooCommerce under ‘Web shop connections‘.
Enter your API key, password and URL into each respective field. You can test the integration by clicking on ‘Test integration’.
If you wish your recipients to be synchronised automatically every 24 hours, check the box for daily synchronisation. Click on ‘Complete Setup‘ to complete the process.

Newsletter2go verwendet Cookies, um Ihnen den bestmöglichen Service zu gewährleisten. Wenn Sie auf der Seite weitersurfen stimmen Sie der Cookie-Nutzung zu. Ich stimme zu.
