How do I set up the osCommerce Newsletter2Go Plug-in?
Hint: In Order to use the osCommerce Plug-in, you will need your own Newsletter2Go Account. If you don’t already have one, you can create your own account for free here.
1. Download the osCommerce Plug-in here and save it in your osCommerce folder.
2. Upload the following file onto your FTP-Server: Admin-Folder, newsletter2go_install.php, newsletter2go_api.php. Copy this into your Shop Root Directory. This prevents data from being overwritten.
3. In order to ensure that the Plug-in functions correctly, you will need to paste a few lines of code into your backend.
Copy the following code and ensure that it is on the correct lines of your backend. The examples below are based on an unmodified file version, so your own code might be slightly different.
In order for the Plug-in to function with your ZenCart system, you will need to enter a couple of lines of code. The pathways in this instruction manual are relative to your own Shop folders. If you have installed, for example, ZenCart in/public_html/catalog/, then refer the pathway includes/filenames.php topublic_html/catalog/includes/filename.php.
3.1 Open the file “english.php” and copy the contents of the file.
Open the file “admin/includes/languages/english.php” and paste in the previously copied code at the end of the file. Save the file.
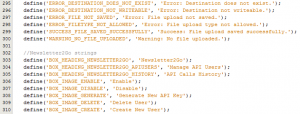
In order to ensure that the Menu functions correctly, open the file “admin/includes/filenames.php” and paste the following lines at the end of the file, before the last row:
define(‘FILENAME_NEWSLETTER2GO’,’newsletter2go.php’);
define(‘FILENAME_NEWSLETTER2GO_HISTORY’,
‘newsletter2goHistory.php’);
4. Before you are able to use the Plug-in, you’ll need to update your database. Enter the following URL in your browser: http://your_shop_address/admin_folder/newsletter2goUsers.php. The Menus in your backend should now be updated and the configuration site should be available.
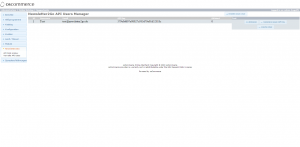
5. Create a User and an API Key. Open the osCommerce Backend and click on the Menu – Newsletter2go – API Users. Click on “Create New User” and then create a new user. Select the user from the list. A new panel should have now appeared on the right side, and you should be able to press “activate.” You can create another API here later if so needed. Copy the API Key.
6. Build the Connection to Newsletter2Go
Login to your Newsletter2Go Account and click on Settings. Select the Plug-ins tab.
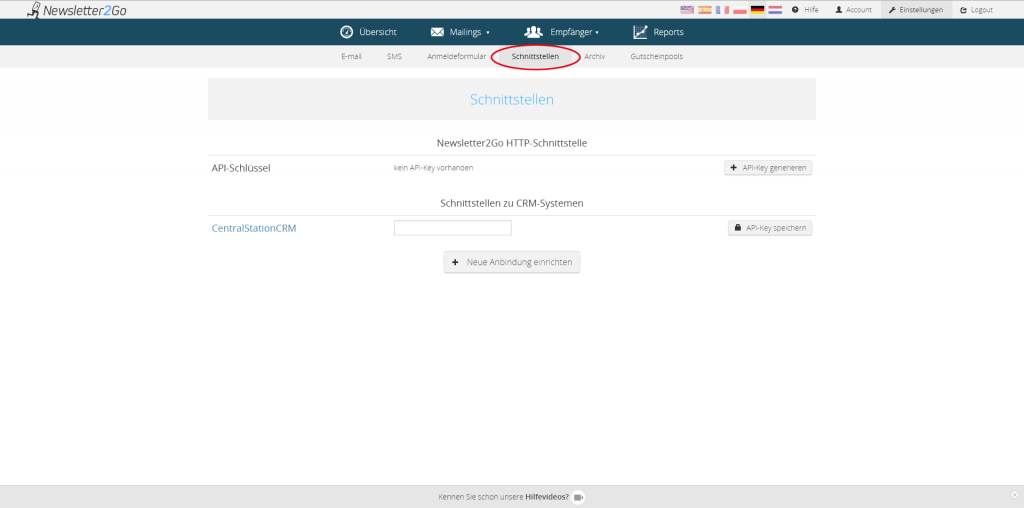
Click on ‘set up new connection’ to view all available plug-ins.
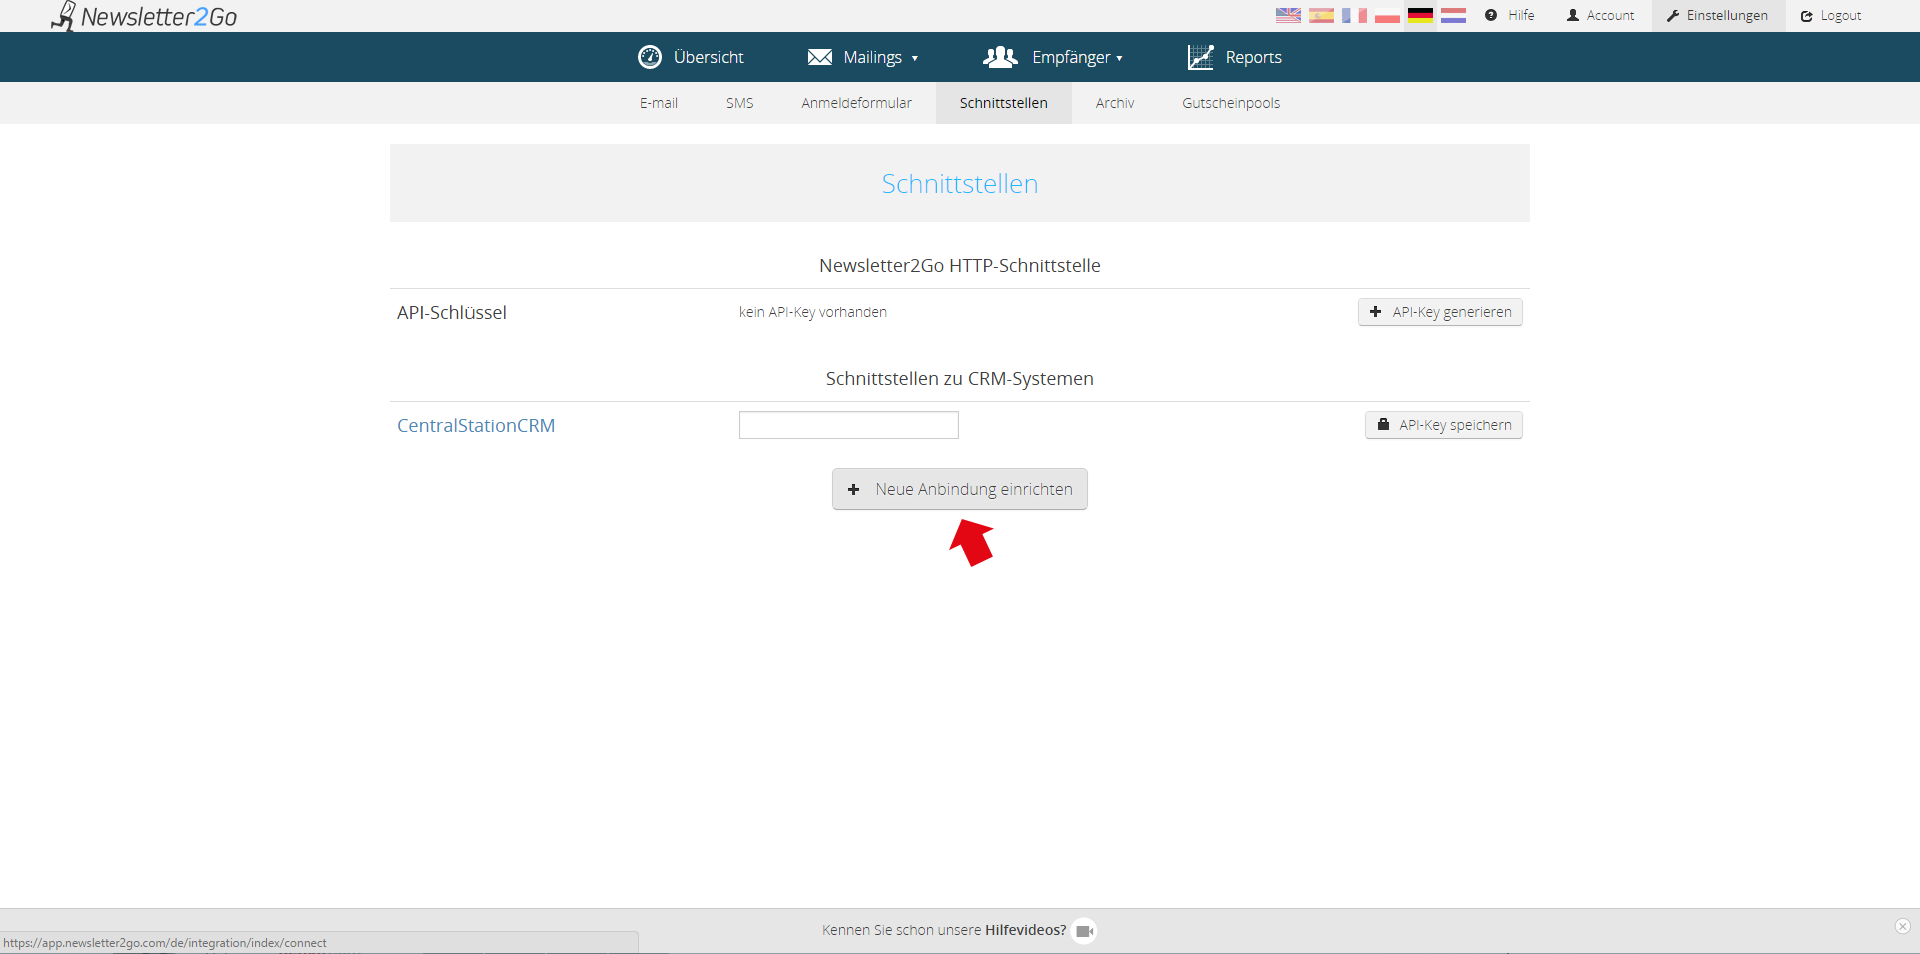
The osCommerce Plug-in can be found under Webshop Connections
A window will open for setting up the integration. Enter the URL of your osCommerce website and your Newsletter2Go API key. Now choose whether you would like your recipient information to be synchronised every 24 hours by checking the box. When you have entered the required information you can test the integration or complete the setup process straight away.

Newsletter2go verwendet Cookies, um Ihnen den bestmöglichen Service zu gewährleisten. Wenn Sie auf der Seite weitersurfen stimmen Sie der Cookie-Nutzung zu. Ich stimme zu.
